OwnTracks: Getting Started with private mode (own MQTT broker)
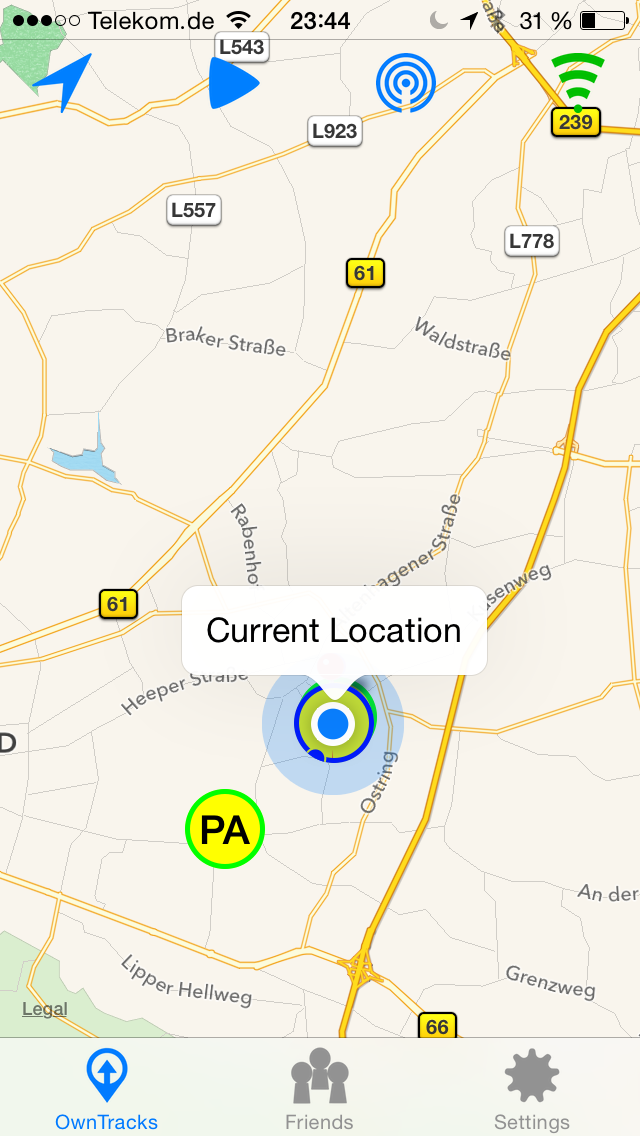
OwnTracks is basically Google Latitude (which was retired) without Google getting your data. They offer iOS and Android apps that publish your location. They even provide the source code. Pretty remarkable!
The apps works in three modes (docs):
- Public: OwnTracks-owned MQTT broker. The whole internet can see your location.
- Hosted: OwnTracks-owned MQTT broker. You signup and register your devices so only you (and OwnTracks as the broker provider) get to see your data.
- Private: You provide the MQTT broker. If the connection is TLS-secured [1], only your devices and your broker see your data.
This post is about private mode and how to get the infrastructure running.
Given a Docker host that is accessible from the internet, this post will provide you with:
- Mosquitto as an MQTT broker (your devices connect to it)
- Working TLS with an own CA (certificate authority - be your own Comodo/Verisign) that you can install on your phone (alternative is to buy an SSL/TLS certificate) (docs)
- Users with auto-generated passwords to authenticate your devices to the broker (to protect your broker and your data from other people on the internet)
- Configuration files (.otrc) you can send to your devices that fully configure the OwnTracks app (docs)
- A database that stores all the location updates sent by the app.
1. Getting the docker container working
Log in to the docker host and clone my git repository and build it:
git clone https://github.com/padelt/docker-owntracks-private-mqtt-broker
cd docker-owntracks-private-mqtt-broker
docker build -t owntracks .
2. Prepare the configuration
The container contains a start script (/start.sh) that will generate a sane configuration on the first run. Once that is done, it will be left alone, so you can safely edit it to your taste. The configuration, data and logs are stored in a directory /volume inside the container. You need to provide that as a docker volume. We will prepare that now.
I like to have all the docker volumes in one directory of the host and not in control of Docker. Otherwise a docker rm would delete data and that is not my way of working. In this case, it is /docker-volumes/owntracks/ that will end up as /volume/ inside the container.
To generate the client configuration files, you need to provide some information that is not available in the container otherwise:
- At what hostname will the MQTT broker be reachable? (public hostname of docker host)
- At what port? (public port on docker host that is connected to container port 1883)
We need to make sure that the container will find /volume/host.config when started. So do something like this on the host:
mkdir -p /docker-volumes/owntracks/
echo "HOSTNAME=`hostname -f`" >> /docker-volumes/owntracks/host.config
echo "PORT=21883" >> /docker-volumes/owntracks/host.config
3. Start the container and run the start script
Two things are important:
- Connect the container-port 1883 with a free port on the host. In the example above that was 21883, so we stick with it.
- Provide the directory where host.config resides as a volume to the container.
So, to interactively start the container, this would work:
root@docker1:~/docker-owntracks-private-mqtt-broker# docker run -it -v /docker-volumes/owntracks:/volume -p 21883:1883 --name owntracks owntracks bash
root@4dfeb19a7da2:/#
Now you are inside the container (note the random-looking hostname!) and you should fire up /start-sh. A lot of output should run across the screen, mostly from OpenSSL commands while the certificates are created.
While Postgresql is starting, o2s will fail as long as it cannot connect to the database. supervisord will start it several times
If everything worked, the last line should be supervisord telling you that mosquitto is running:
INFO success: mosquitto entered RUNNING state, process has stayed up for > than 1 seconds (startsecs)
4. Configure your iOS/Android devices and the app
Moments ago, a new CA was generated. You are now basically your own private root CA like Comodo, DigiCert, Verisign. The whole purpose is that the server certificate used by mosquitto is signed by that CA (what would cost money on a commercial CA) and therefore trustworthy.
But obviously, your device should not trust any random CA, right? So now you need to import or install the new CA as trusted on your device. How that works is described here but you need the file ca.crt on your device. This file is non-confidential and can be transmitted by email or Dropbox to your device. When you open that file over there, you will be prompted if you want to install it. Yes you do.
Once the certificate is installed, the OwnTracks app could connect to your new MQTT broker. Yet it does not know where to connect and with what user credentials. You could now look at the passwd.cleartext file and just type that into your device. But there is a better way: Transfer one of the client*.otrc-files into your device and open it there. The OwnTracks-app will grab it and self-configure. Beware: In there is the password used to authenticate the app to the server. Sending that via email across the internet as cleartext is not advised.
Whatever you do: Remember to set the DeviceID in the app settings, otherwise no publishing takes place! If you used the .otrc-file, this was already done for you.
5. Enjoy
Now under Settings in the app, you should see connected after Check. To look if publishing works, see below how to connect mosquitto_sub to your new broker.
So far, so good.
By the way: All of the functionality is part of OwnTracks. The only thing I added was some glue scripts and the Dockerfile!
Debugging MQTT
If you want to log or monitor what is published to your shiny new MQTT broker, you can use the mosquitto_sub tool and this command:
mosquitto_sub -v -h public.hostname.example.org -p 21883 --cafile ca.crt -u client1 -P too3j4ah4yeiki --insecure -t "owntracks/#"
The connection attempt of both the app and mosquitto_sub should be visible in the container console output. If the connection is made, but you can see nothing published even when you tap the "play" icon on the map and select "Publish Now", then you should first verify that your mosquitto_sub is actually connected. You can verify that by subscribing to the broker's own diagnostic messages. There should be output every few seconds using this command:
mosquitto_sub -v -h public.hostname.example.org -p 21883 --cafile ca.crt -u client1 -P too3j4ah4yeiki --insecure -t "$SYS/#"
Debugging o2s and database entries
o2s should connect to your broker and mosquitto should log this when it happens:
New client connected from ::1 as o2s (c1, k60, u'o2s')
It should also connect to Postgresql, but this does not log anything if it works. Postgresql does complain when connection attempts fail though.
Upon reading a location update from the MQTT broker, it should write to the database:
- Update table lastloc for the MQTT user configured in the app.
- Add an entry in table location.
So to debug or look at the data, you can use the psql command line tool from inside the container. The password is set via the Dockerfile to the value of o2s. Try this:
root@67d36c0356ef:/# psql -h localhost -U o2s -W
Password for user o2s:
psql (9.4.3)
Type "help" for help.

o2s=# \dt
         List of relations
 Schema |   Name    | Type  | Owner
--------+-----------+-------+-------
 public | acl       | table | o2s
 public | fms       | table | o2s
 public | geo       | table | o2s
 public | inventory | table | o2s
 public | lastloc   | table | o2s
 public | location  | table | o2s
 public | obd2      | table | o2s
 public | operators | table | o2s
 public | params    | table | o2s
 public | user      | table | o2s
 public | waypoint  | table | o2s
(11 rows)

o2s=# select * from location;
o2s=# select * from lastloc;
| [1] | TLS is the successor of SSL. If in doubt, they are equivalent. If you have to, choose TLS. Old variants of SSL are considered broken. |